|
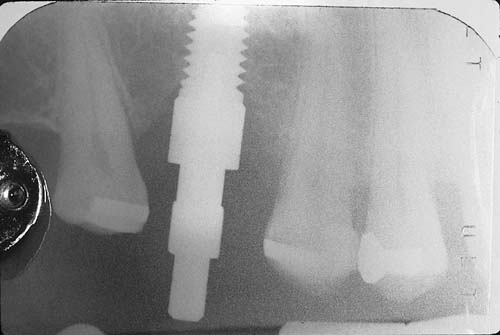
| Figure 1: Radiograph demonstrating bone loss due to peri-implantitis. |
 |
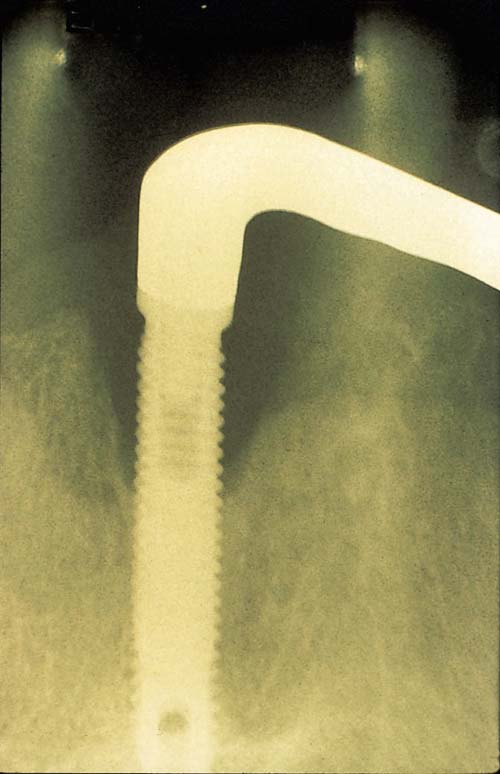
| Figure 2: Radiograph showing a fractured implant. |
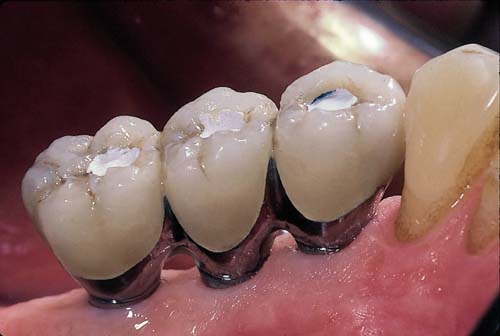 |
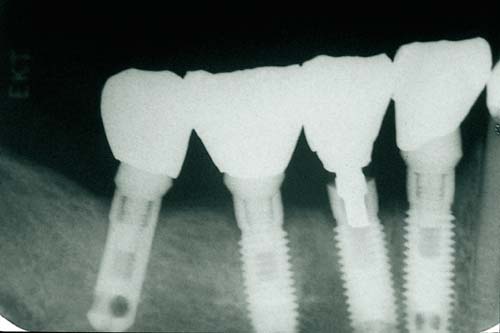
| Figure 3: Bridge demonstrating 1:1 implant-to-crown ratio. |
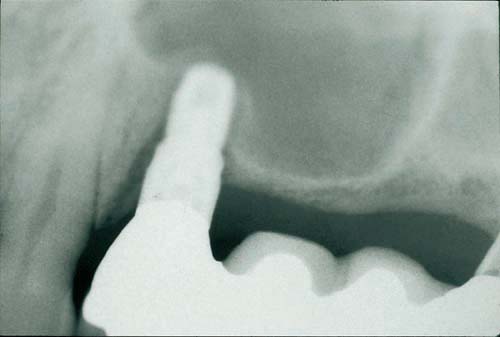 |
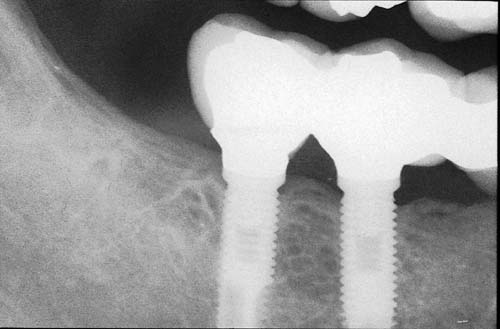
| Figure 4: Bone loss around a short dental implant. |
 |
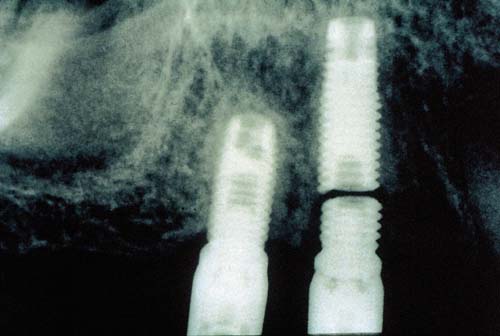
| Figure 5: Wide-body implant fixture to replace molar tooth. |
 |
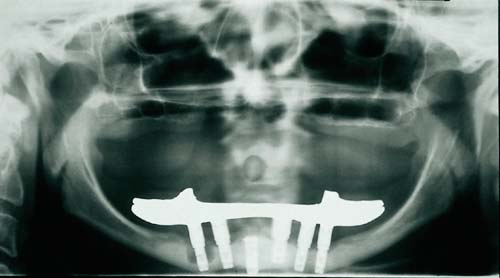
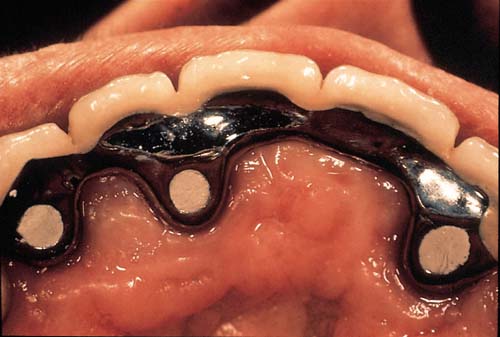
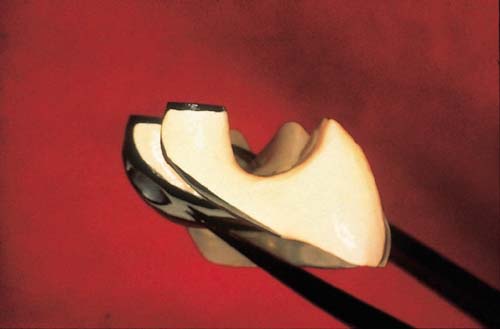
| Figure 6: Ill-fitting posterior bridge and prosthetic design. |
 |
| Figure 7: Non-ideal cantilever: long distal cantilever demonstrating bone loss and poor support. |
 |
| Figures 8: Ideal cantilever: mesial cantilever implant prosthesis. |
 |
| Figures 9: Radiographic view of restoration in Figure 8. |
 |
| Figures 10: Non-ideal cantilever: long anterior cantilever due to poor implant location, incorrect prosthetic work-up, inadequate lip support and compromised design. Incisal loading will lead to prosthetic failure. |
 |
| Figures 11: Lateral view of restoration in Figure 10. |